All above Hotspot
How to Create a Hotspot in the Crezlo Platform
This document provides a step-by-step guide on how to create a hotspot within the Crezlo platform. Hotspots are interactive elements that can be added to images or videos to provide additional information, links, or actions. This guide will cover the process from logging in to customizing the hotspot's appearance and behavior.
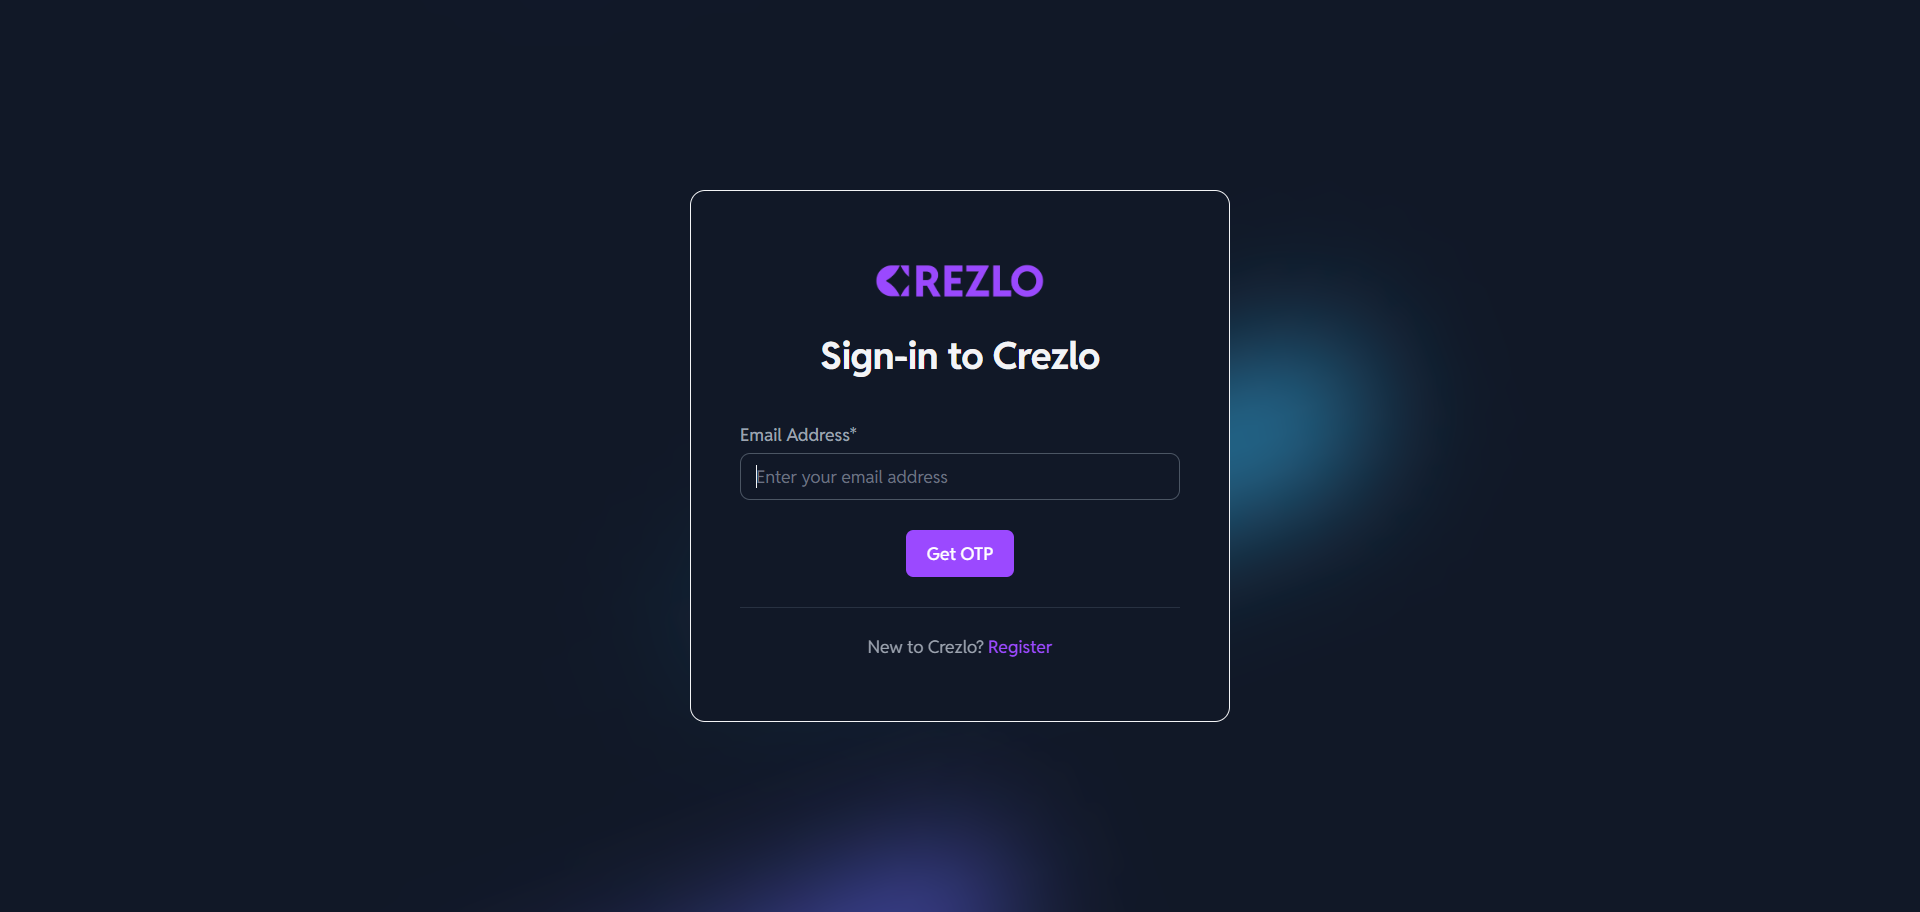
1. Logging into the Crezlo Platform
- Open your web browser: Use a compatible web browser such as Chrome, Firefox, Safari, or Edge.
- Navigate to the Crezlo website: Enter the Crezlo platform's URL in the address bar and press Enter.
- Enter your credentials: On the login page, enter your registered username and password.
- Click the "Login" button: This will authenticate your credentials and grant you access to the Crezlo dashboard.
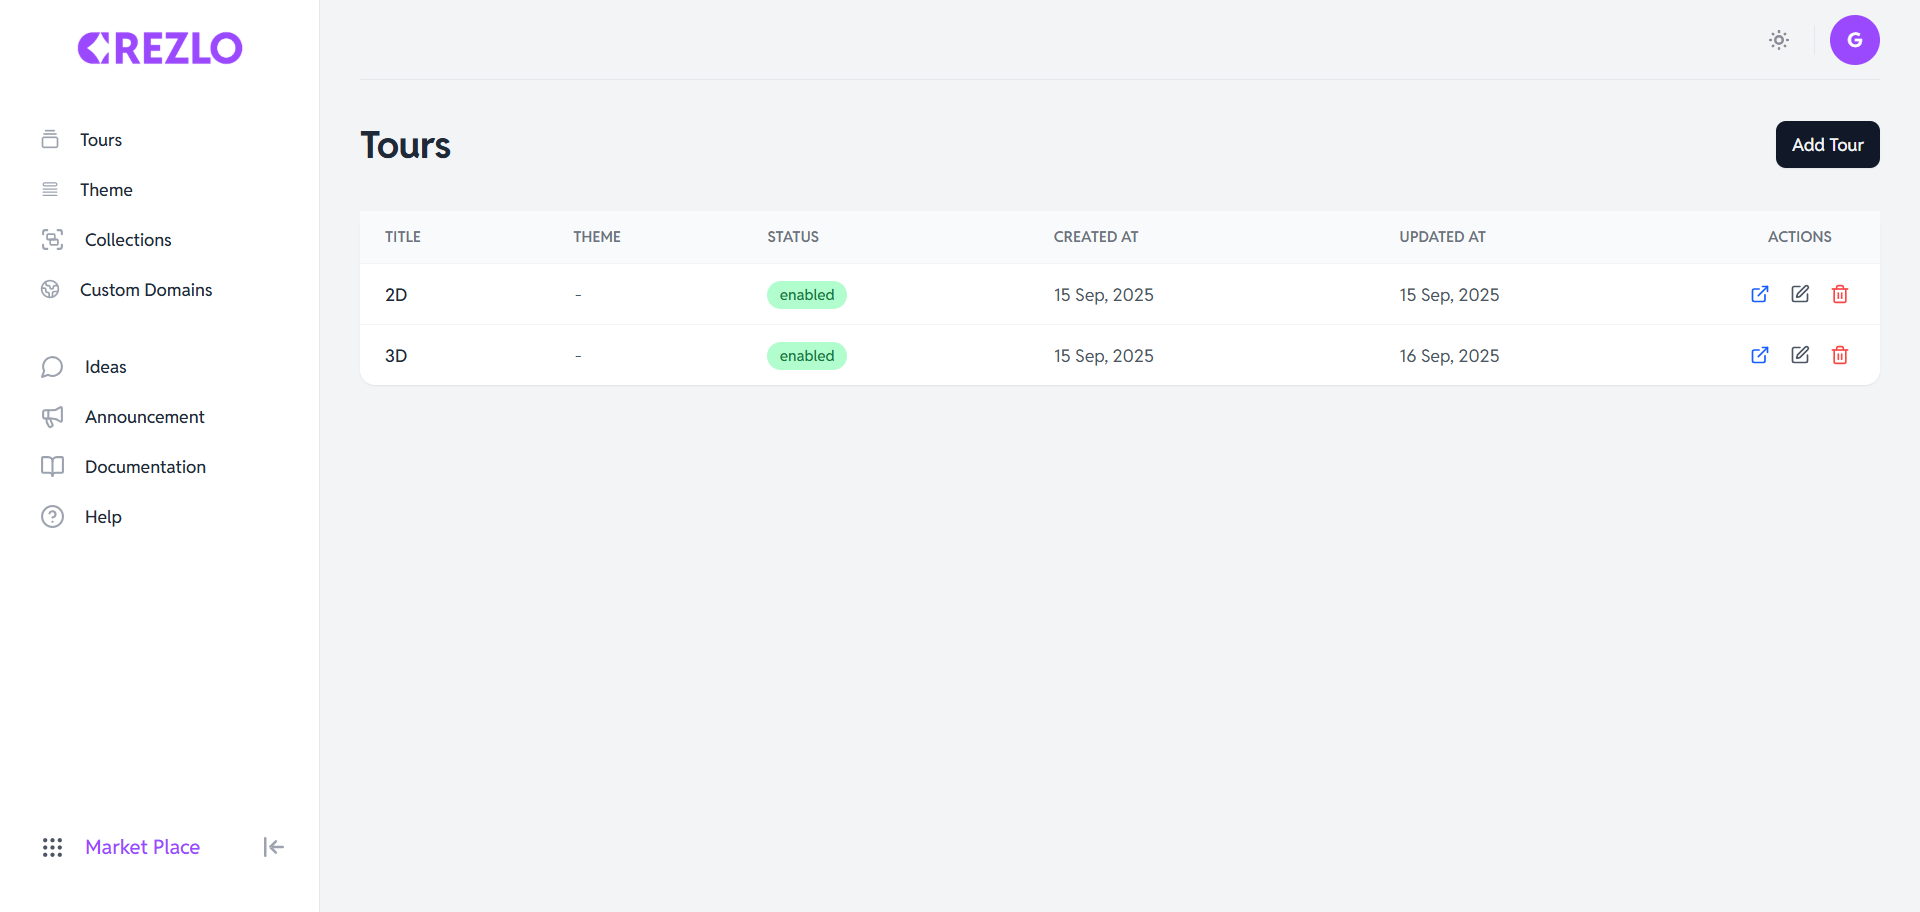
2. Accessing the Media Library
Once logged in, you need to access the media library where your images or videos are stored.
-
Navigate to the Media Library: Look for a "Media Library" or "Assets" section in the main navigation menu. The exact name may vary depending on the Crezlo platform's specific interface.
-
Select the desired media: Browse through your media files and select the image or video you want to add a hotspot to. Click on the media item to open it in the editor.
3. Entering the Hotspot Editor
After selecting the media, you need to enter the hotspot editor.
-
Locate the "Hotspot Editor" button: Look for a button or icon labeled "Add Hotspot," "Edit Hotspots," or something similar. This button will typically be located near the media display area.
-
Click the button: Clicking this button will open the hotspot editor, allowing you to add and customize hotspots on your media.
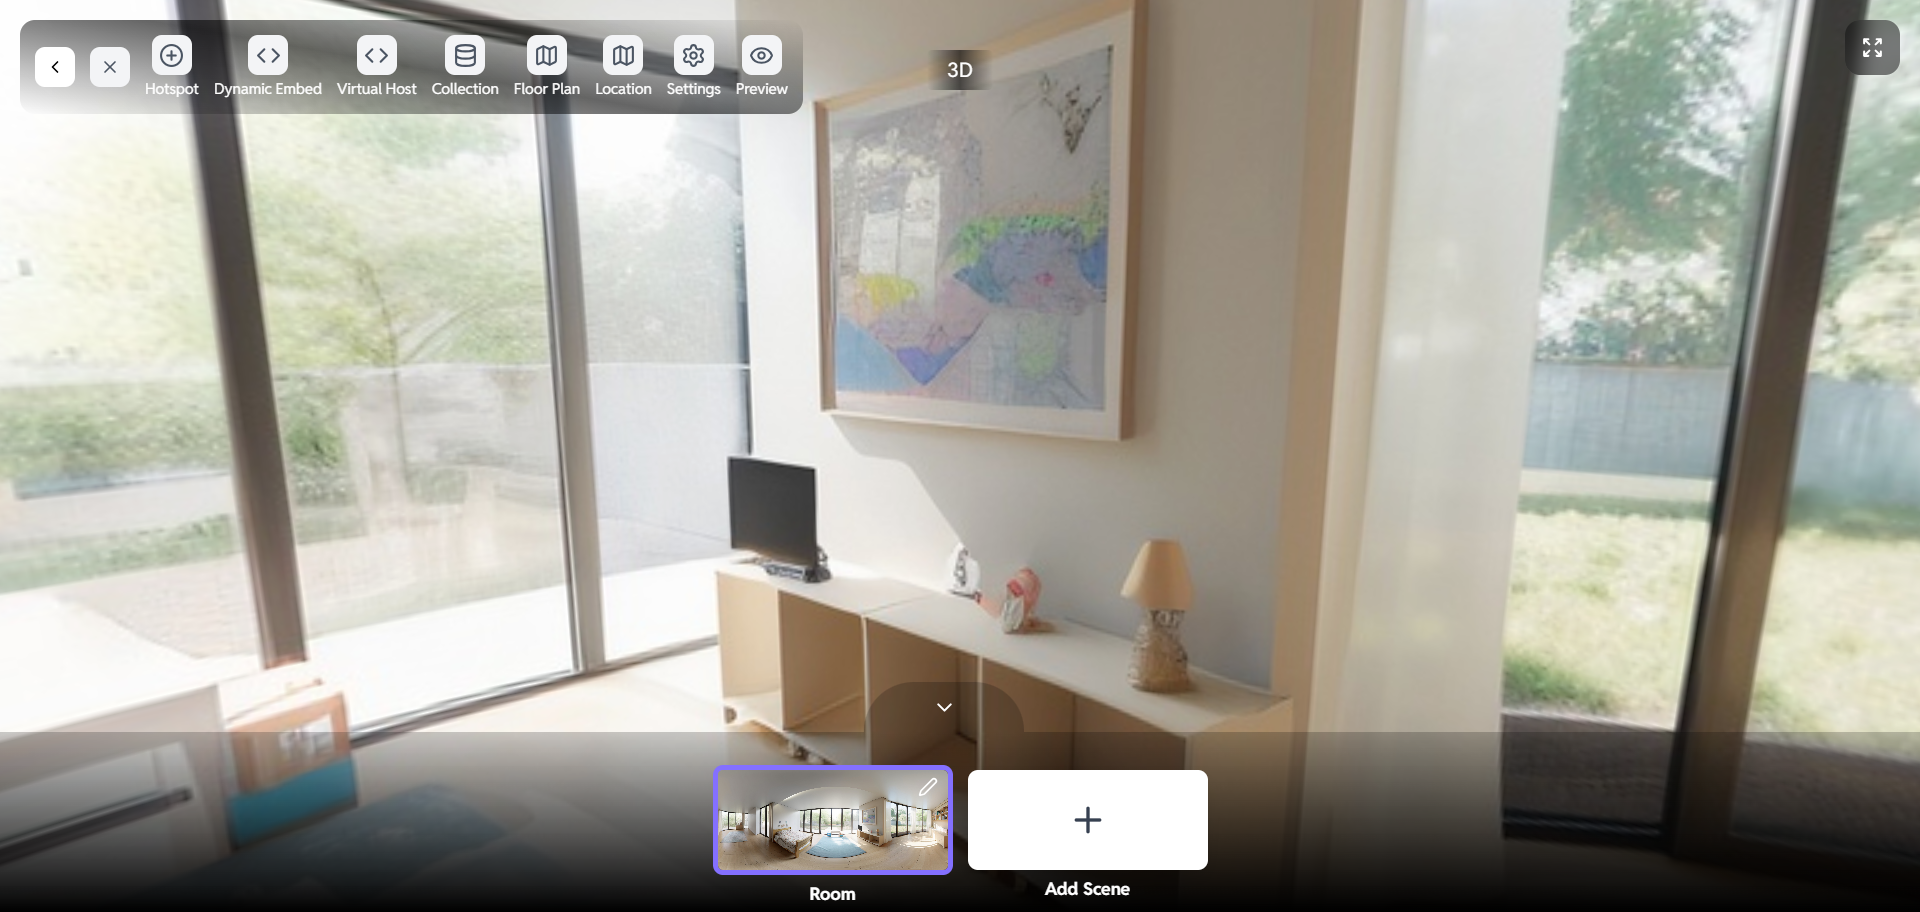
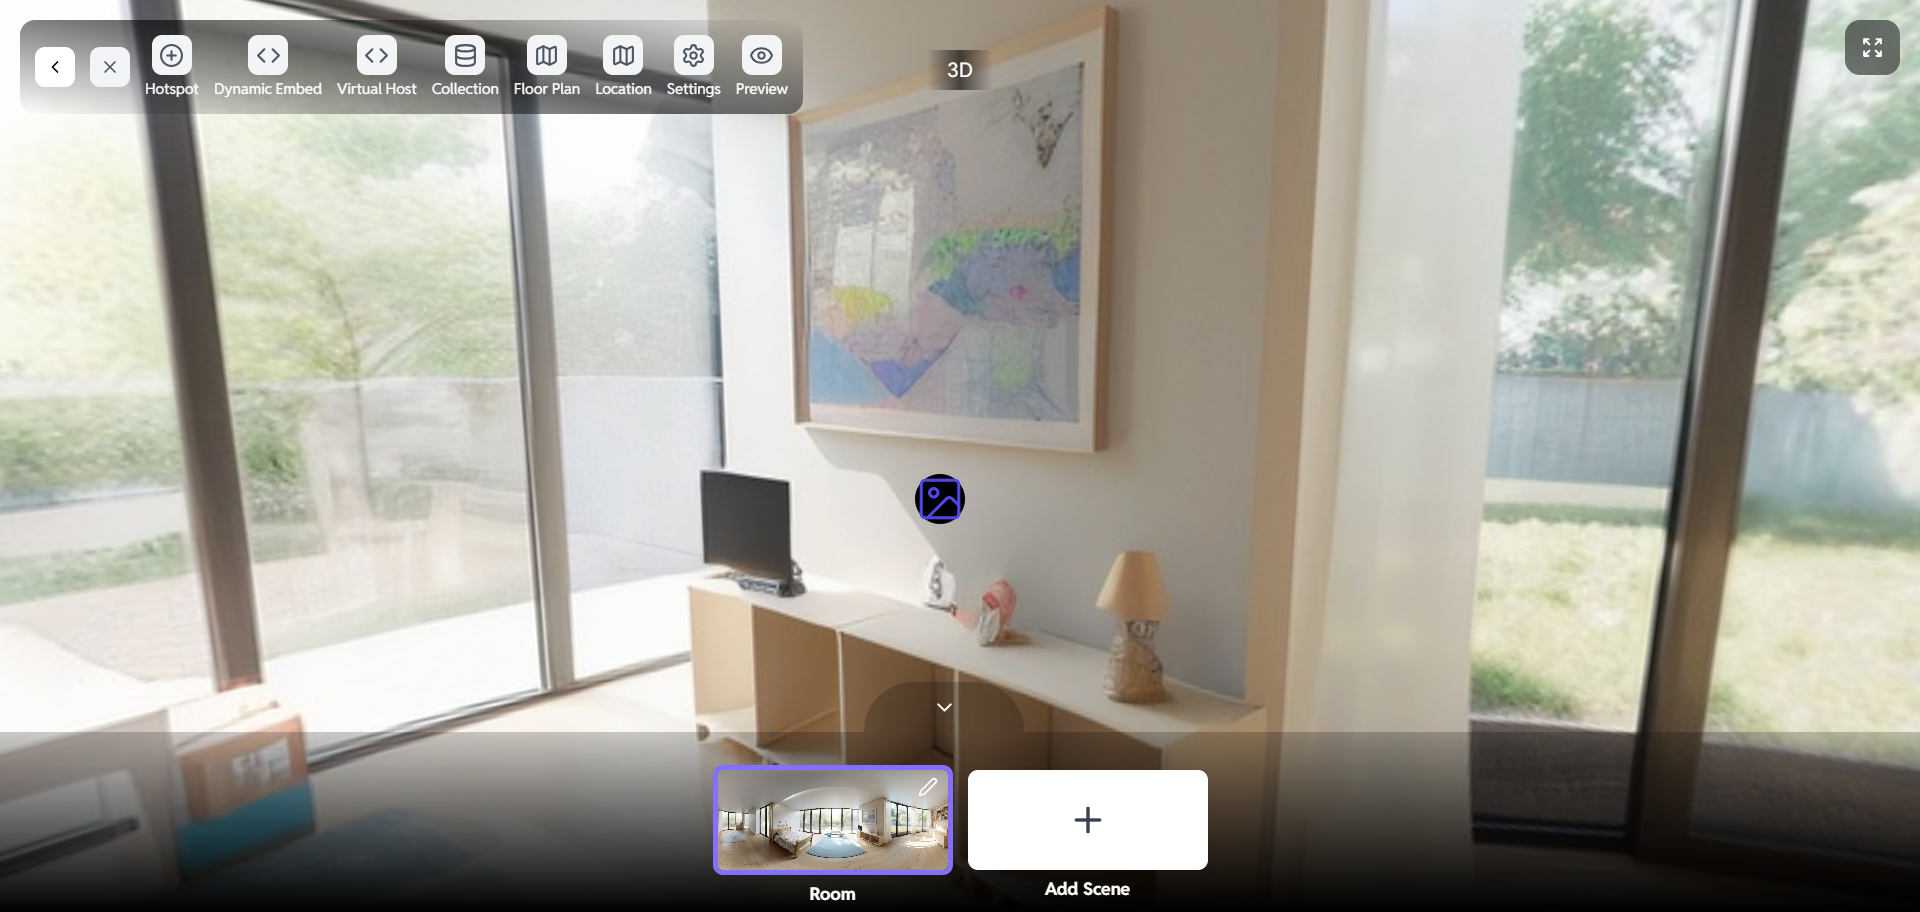
4. Adding a Hotspot
Now you can add a hotspot to your media.
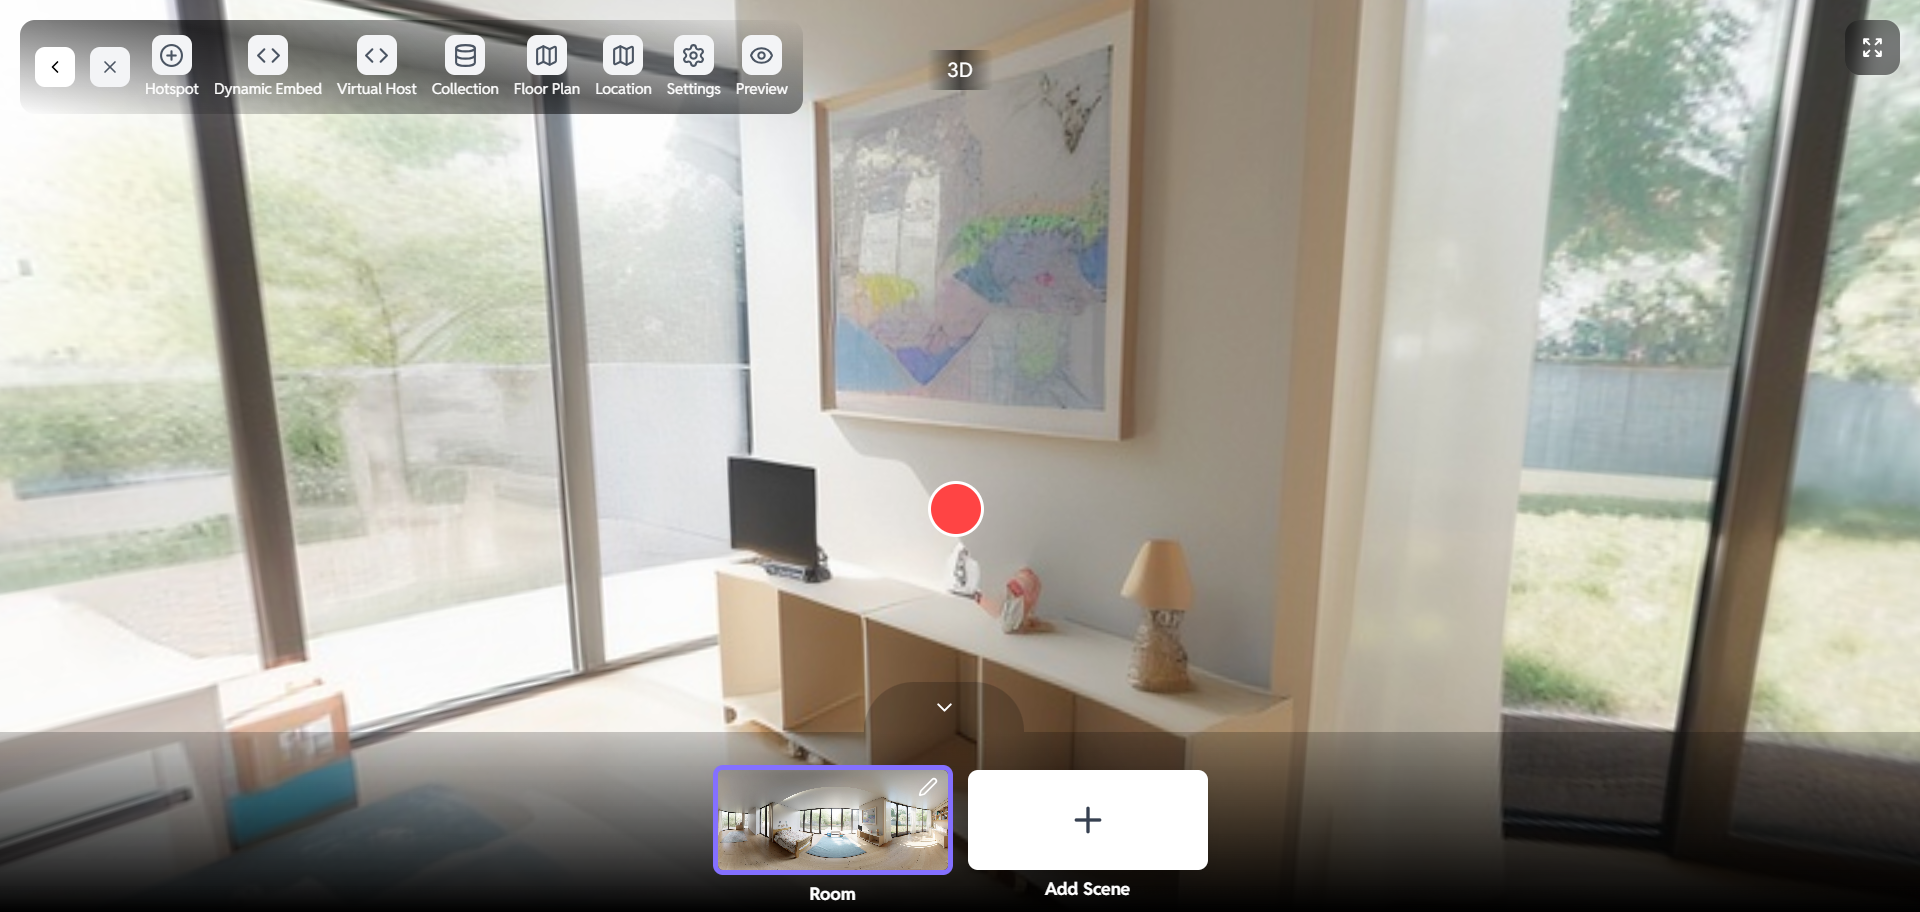
-
Click on the media: Within the hotspot editor, click on the specific area of the image or video where you want to place the hotspot. This will create a default hotspot marker.
-
Adjust the hotspot position: You can drag the hotspot marker to fine-tune its position. Ensure it's placed accurately over the area you want to highlight.
-
Resize the hotspot: Platforms allow you to resize the hotspot. use the resize handles to adjust the hotspot's size to fit the desired area.
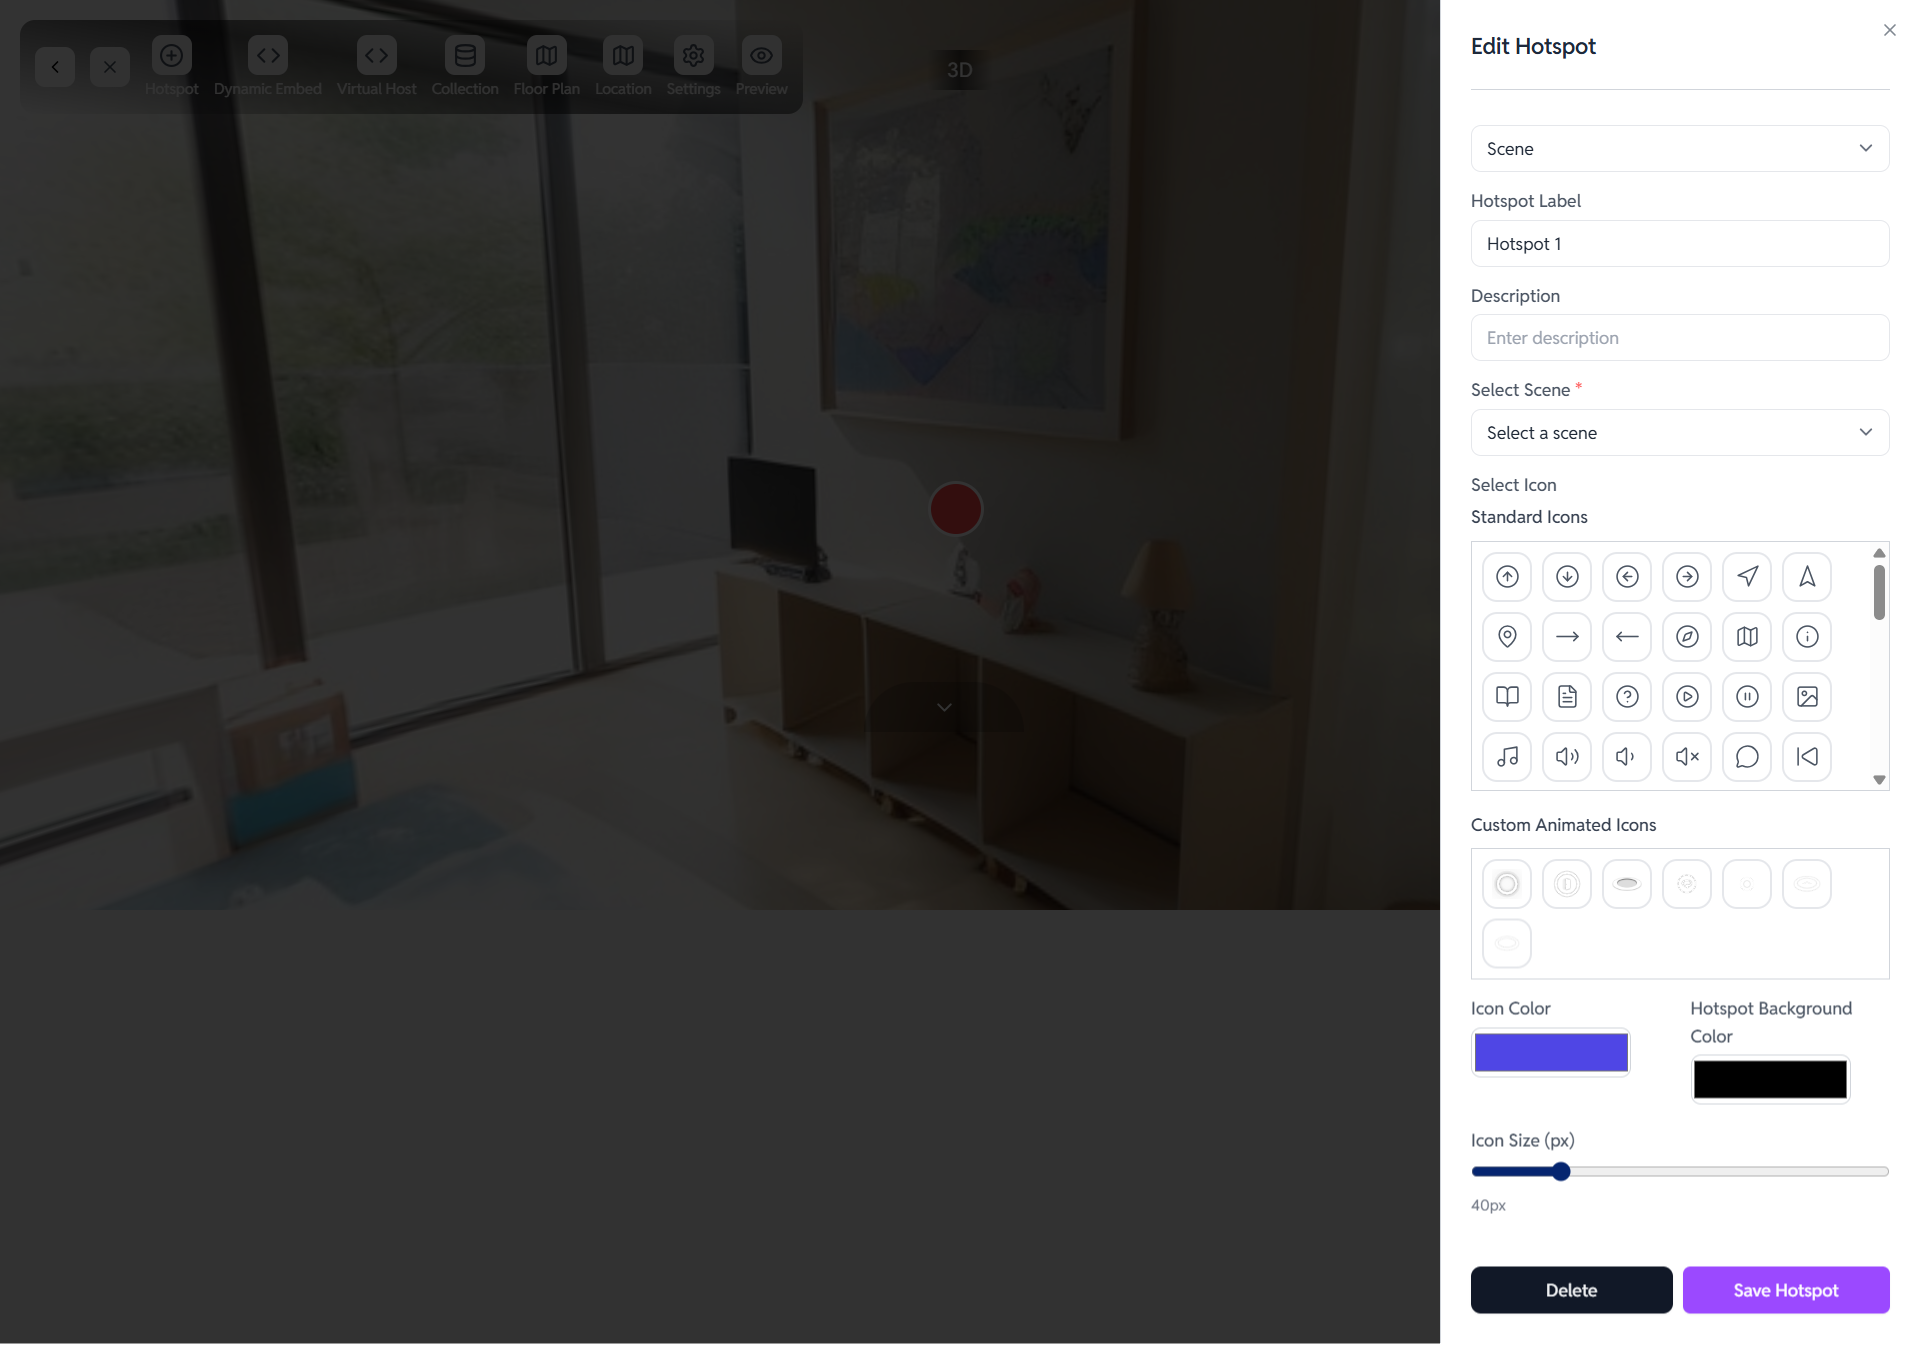
5. Configuring the Hotspot
After placing the hotspot, you need to configure its behavior and content.
-
Open the Hotspot Settings: A panel or window should appear with settings for the hotspot. This panel may be automatically displayed after creating the hotspot, or you may need to click on the hotspot to open it.
-
Add Content:
-
Text: Add descriptive text that will be displayed when the user interacts with the hotspot.
-
Images: Include additional images to provide visual context.
-
Videos: Embed videos to offer more in-depth information.
-
Links: Add URLs to direct users to external websites or specific pages.
- Define Actions:
-
Open a popup: Display the content in a popup window when the user clicks the hotspot.
-
Redirect to a URL: Redirect the user to a specific URL when the hotspot is clicked.
-
Play/Pause Media: Control the playback of the video when the hotspot is interacted with.
- Customize Appearance:
-
Icon: Choose a different icon for the hotspot marker.
-
Color: Change the color of the hotspot marker and its associated text or popup.
-
Size: Adjust the size of the hotspot marker.
-
Animation: Add animations to the hotspot to make it more visually appealing.
6. Saving and Previewing the Hotspot
After configuring the hotspot, save your changes and preview the result.
-
Save the Hotspot: Look for a "Save" or "Apply" button within the hotspot settings panel. Click this button to save the changes you've made to the hotspot.
-
Preview the Media: Most platforms offer a preview mode that allows you to see how the hotspot will appear to users. Look for a "Preview" button or option and click it.
-
Test the Hotspot: In preview mode, interact with the hotspot to ensure it functions as expected. Verify that the content is displayed correctly and that any links or actions are working properly.
7. Editing and Deleting Hotspots
You can always edit or delete hotspots if needed.
-
Enter the Hotspot Editor: Return to the hotspot editor by following the steps outlined in Section 3.
-
Select the Hotspot: Click on the hotspot you want to edit or delete.
-
Edit the Hotspot: Modify the hotspot settings as needed, following the steps outlined in Section 5.
-
Delete the Hotspot: Look for a "Delete" or "Remove" button within the hotspot settings panel. Click this button to delete the hotspot.
-
Save Changes: After editing or deleting hotspots, be sure to save your changes to the media

8. Publishing the Media with Hotspots
Once you're satisfied with the hotspots, you can publish the media.
-
Exit the Hotspot Editor: Look for a "Done," "Exit," or "Close" button to exit the hotspot editor.
-
Publish the Media: Locate the "Publish" or "Save" button for the media item. This will make the media with the added hotspots available to your audience.
-
Embed or Share: Depending on the Crezlo platform, you may be able to embed the media on your website or share it via a direct link.